How It Works

What to Expect During a Radon Mitigation Install

This guide shows the real order of a typical radon mitigation job, from the first phone call and in-person quote to install-day communication, home protection, installation, cleanup, and what happens after the system is running.

Step 01

Bill Stops Out for an In-Person Quote

Most jobs start with a phone call, then Bill stops out to look at the house in person. Every home is different, so we do not give quotes from a distance. We look at the basement, sump area, possible pipe route, and exterior fan location before recommending anything. That way you know what we are recommending, why, and what installation day will look like before anything is scheduled.
Step 02

Install Day Communication

The night before installation, you get a reminder. The morning of the job, we text you with a more precise arrival time when we are on the way. That way you know when to expect us without sitting around guessing.

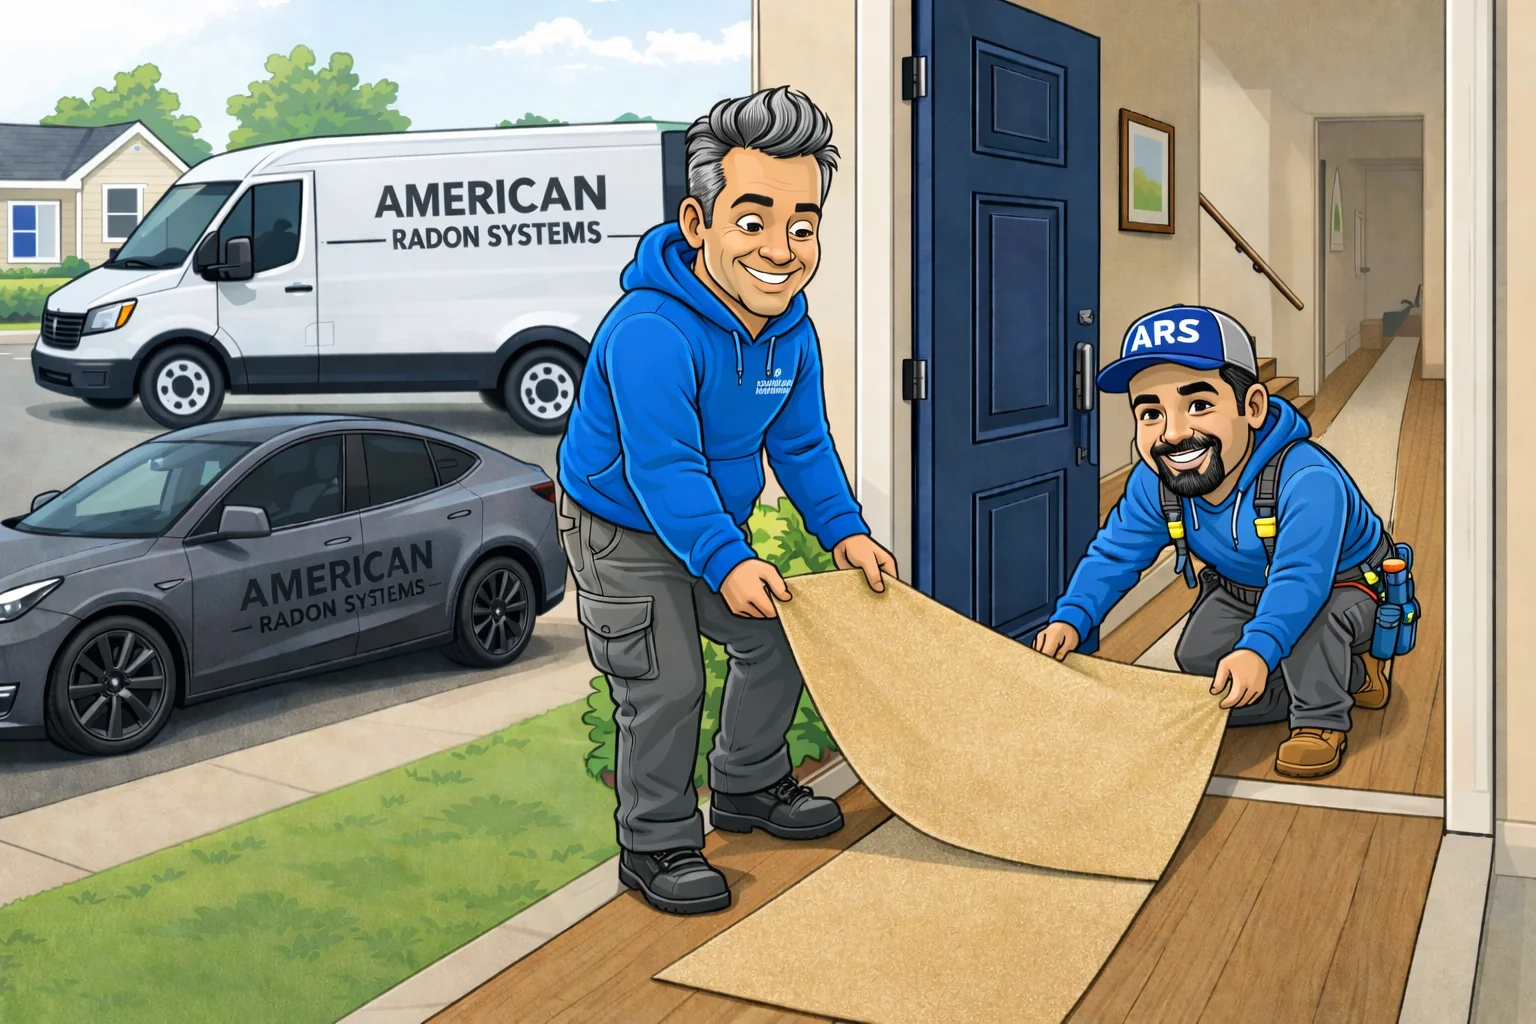
Two American Radon Systems crew members laying down floor protection at the front door before beginning work.
Step 03

Floor Protection Before Work Starts

Before a single tool comes out, we put down floor protection from the front door to the work area. The goal is to treat the house carefully from the first trip inside, not just after the work is done. Drop cloths, careful setup, this is part of the job, not an afterthought.

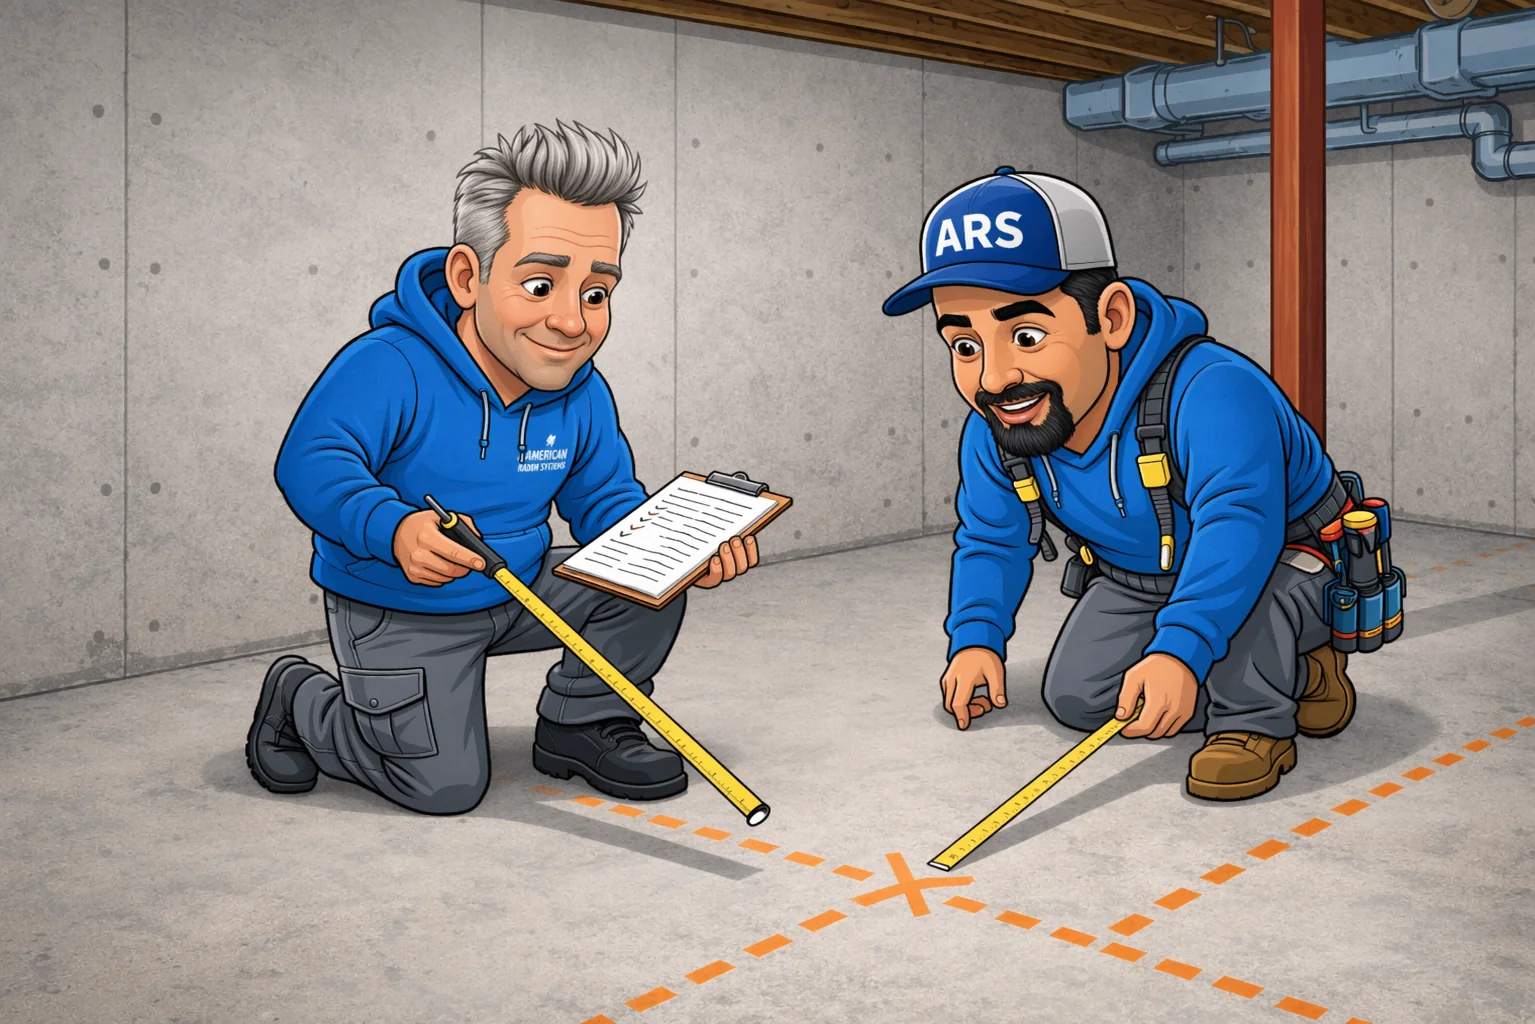
American Radon Systems team members measuring and planning pipe routing in a basement before installation begins.
Step 04

Confirming the Plan

Once we are inside, we review what was discussed during the quote visit before starting any work. We confirm the suction point, sump details if relevant, pipe route, and where the system will exit the home. If anything has changed or the homeowner has questions, we address it before drilling starts.

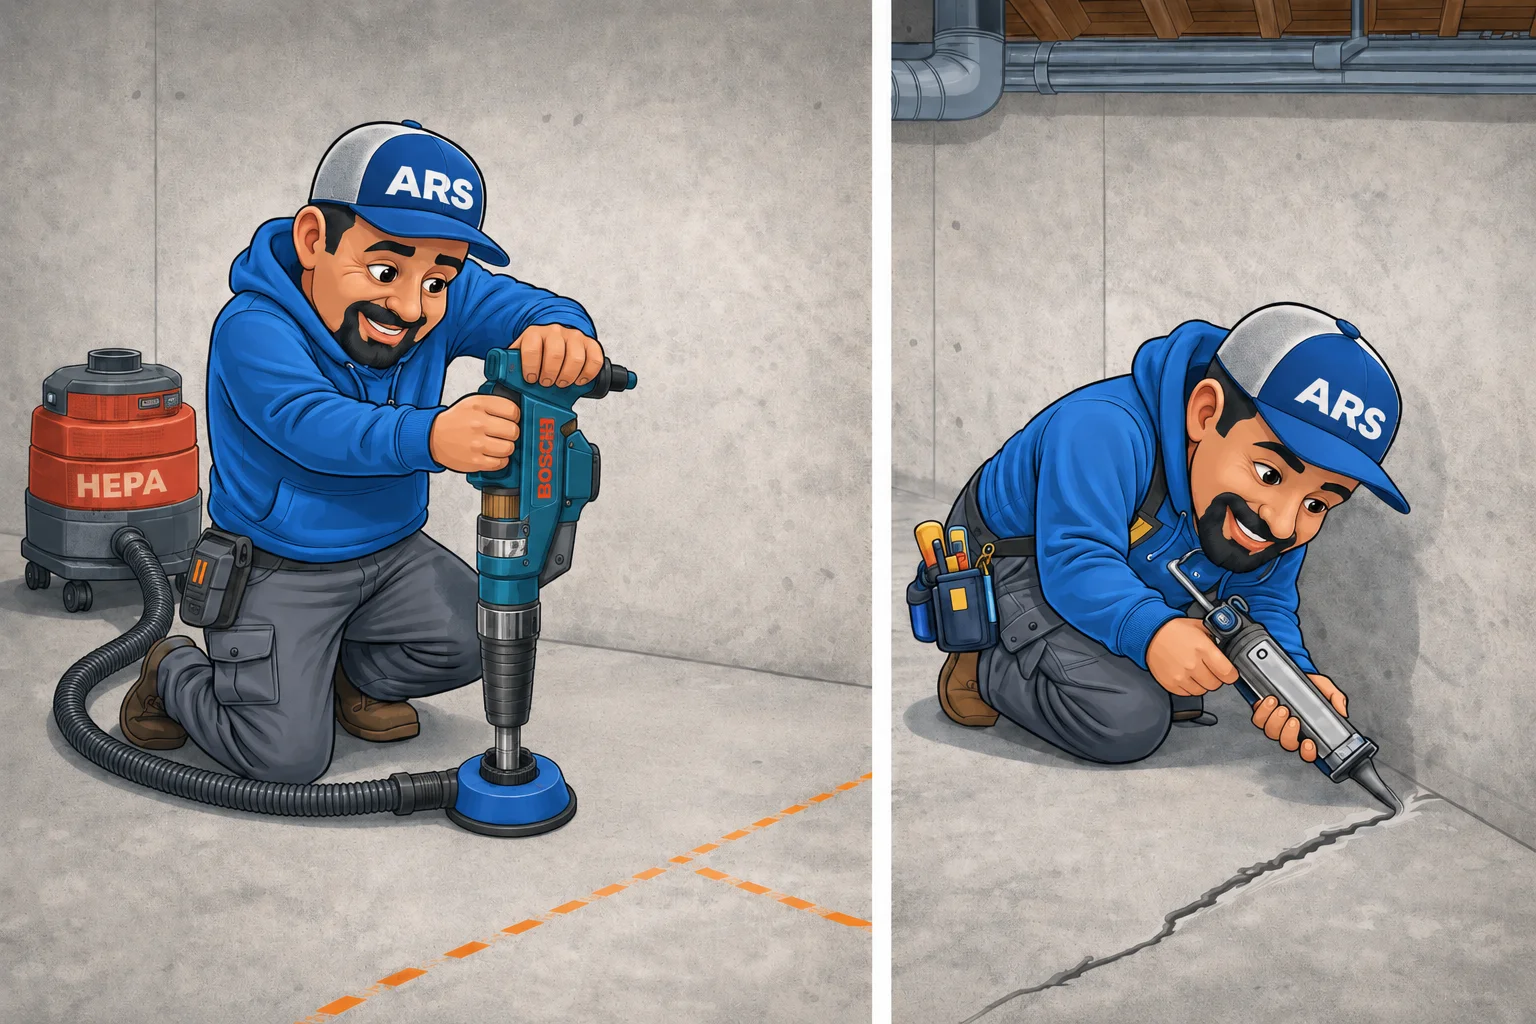
Jose drilling through a basement slab with a dust-capture shroud and HEPA vacuum, then sealing a floor crack with caulk.
Step 05

Clean Drilling and Sealing

We drill through the slab carefully and use dust control to keep the work area clean. The suction hole needs to be in the right spot to pull effectively from under the home. It is not just punched through wherever it is easiest. Once the suction point is set, we seal cracks and openings that could let the fan pull basement air instead of sub-slab air.

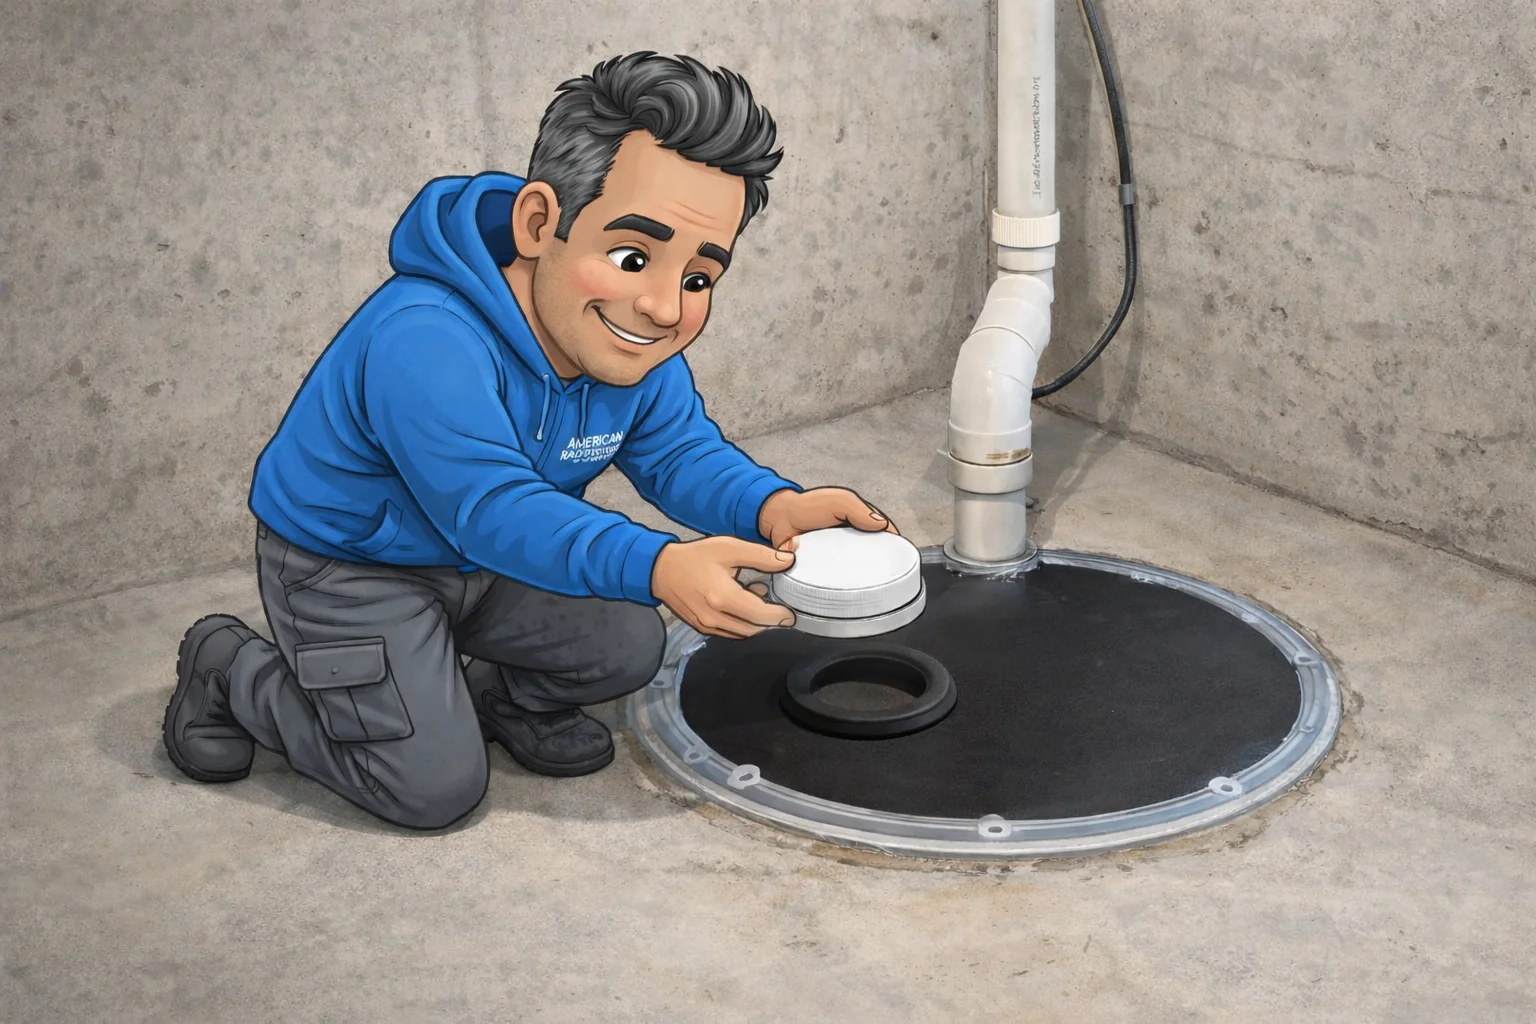
An American Radon Systems team member installing a custom airtight sump lid with a removable access port.
Step 06

Sump Lid or Suction Point Details

When a sump pit is part of the system, we install a sealed lid with practical access for the sump pump. The lid keeps the system pulling from the right place and lets you get to the pump when you need to. Not every system uses a sump. If the home calls for a different suction approach, we build around that layout instead.

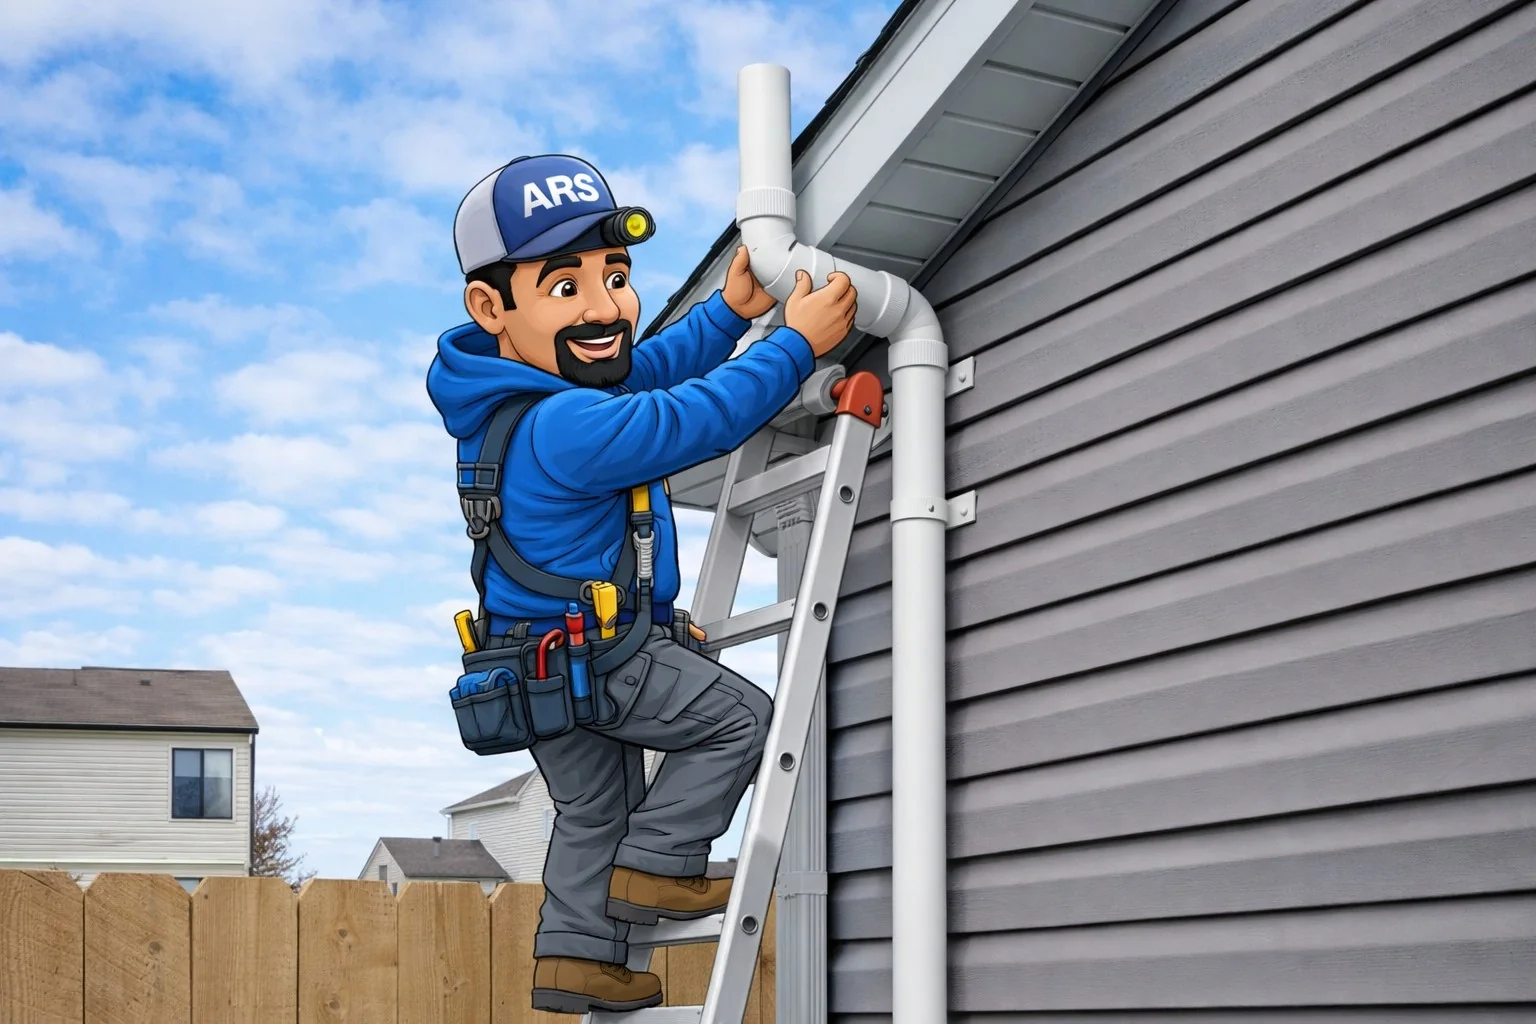
An American Radon Systems installer routing PVC vent piping cleanly along the exterior of a home.
Step 07

Exterior Fan and Vent Pipe

Outside, we mount the radon fan and route the vent pipe up the exterior of the home, safely above the roofline. The fan runs continuously and is what actually moves the radon out. We keep the pipe routing as clean and low-profile as possible while still following the correct path.

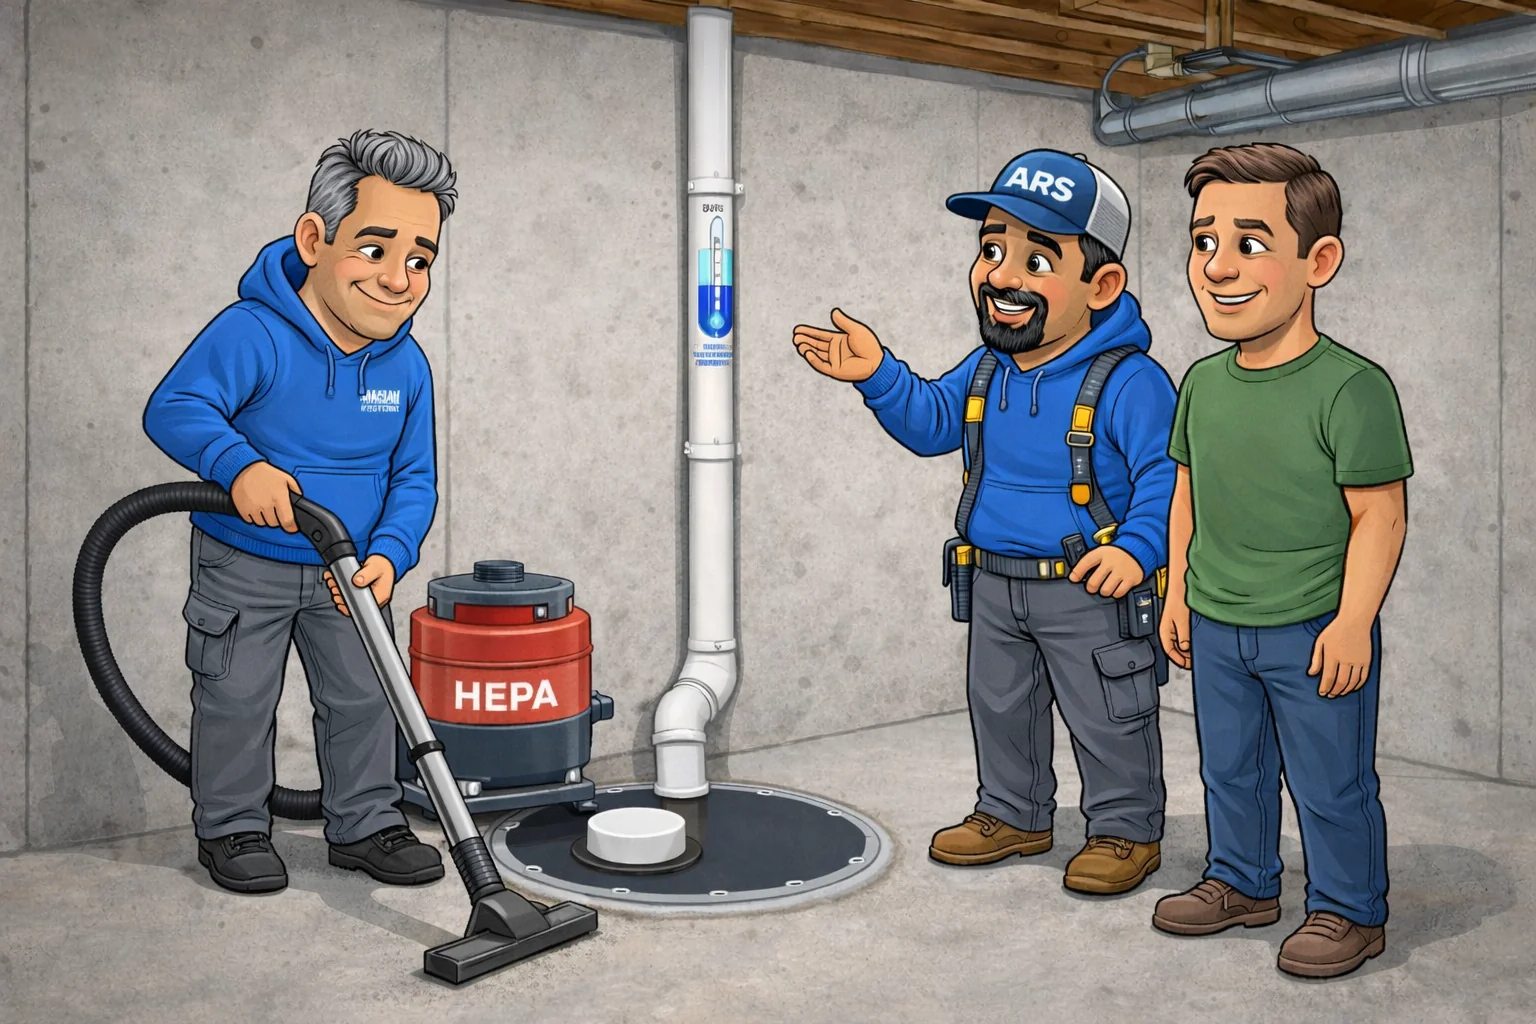
An American Radon Systems technician finishing cleanup while another team member walks a homeowner through the completed system.
Step 08

Cleanup and Walkthrough

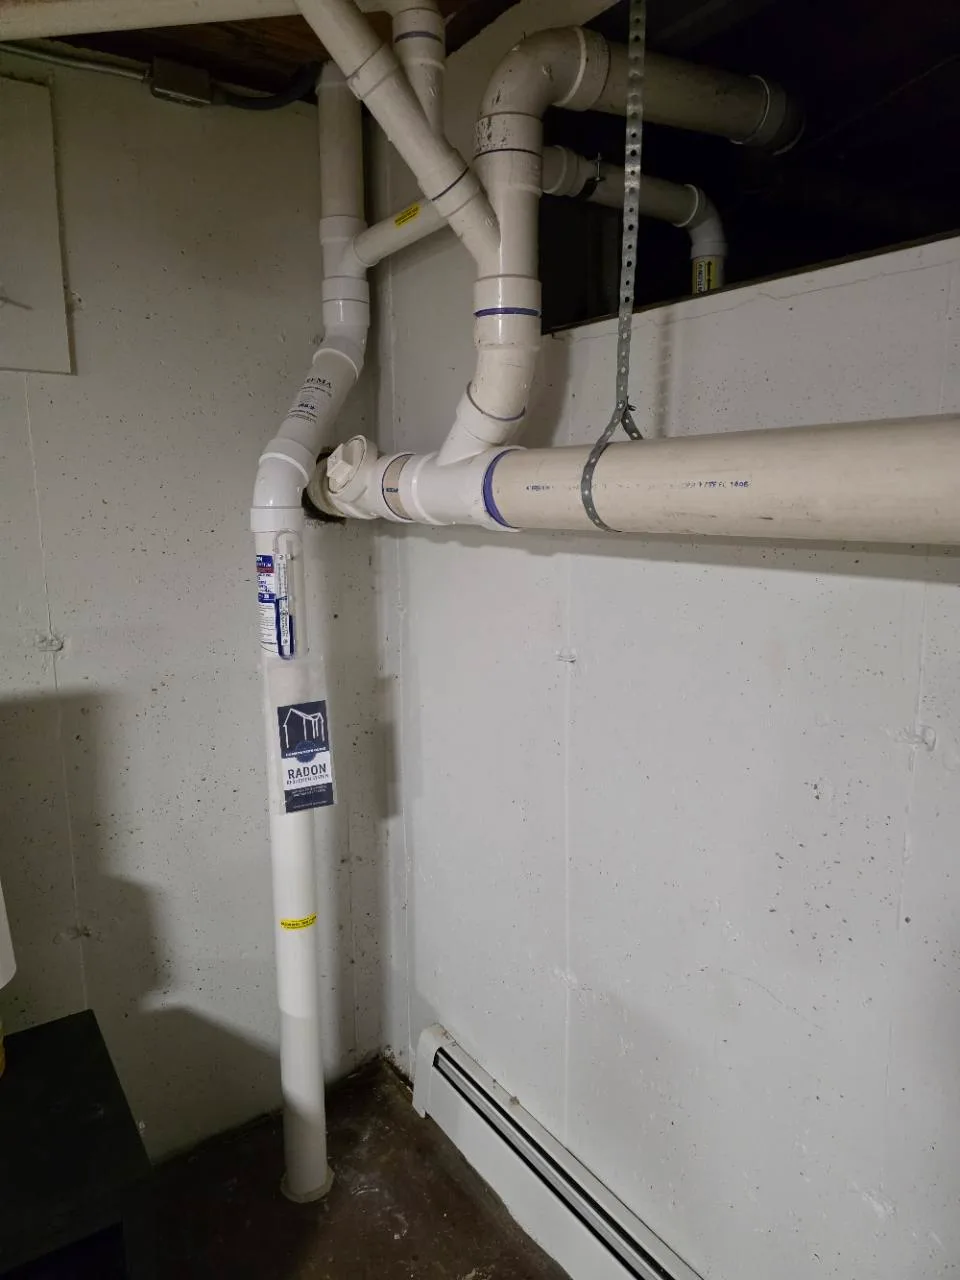
When the system is finished, we clean up the work area and do a walkthrough with you before we leave. We show you the manometer on the pipe, the simple indicator that tells you the system is drawing, and explain what to watch for. Any questions about the system get answered before we pack up.

Bill and Jose leaving after a radon mitigation install while the homeowner family waves from the driveway.
Step 09

After the Install

The system runs continuously from the day it is installed. The home should be retested after the proper waiting period to confirm radon levels have dropped. If questions come up later, you are calling the same local company that installed it, not a call center.

Who Shows Up

Jose and Bill, Two Jobs a Day

On a normal day we do two jobs, six days a week. Jose and Bill show up together.

Jose is the PVC wizard on the crew. He does not take phone calls on the job. No distractions. He stays focused on the pipe, the layout, and building a clean radon system routed for that family's home, one house at a time.

While Jose stays on the install, Bill keeps the day moving: restocking the truck, picking up whatever is needed, and often walking a quote for another family nearby. Then Bill comes back as a helping hand for the finish and loading the van.

Jose has been with Bill almost ten years. That is how American Radon Systems gets work done: one person locked in on the system, the other keeping the business and the schedule moving.

Already Have a System?

Not every visit is a brand-new install. If your fan becomes noticeably louder, rattles, grinds, or hums, it may be wearing out and it is time for replacement. If the fan is silent or the manometer is flat, the system may not be applying suction and should be checked. The U-tube manometer on the pipe shows whether the fan is still applying suction. Radon fan replacement is a normal call for us, including systems another company installed. We can typically come out the same day or the next day. If a fan we install fails during the first five years, the service visit, labor, and replacement fan are included.

No trip charge. Questions? Call or text Bill's cell at (815) 370-9682 and send a photo of the fan or manometer if you have one. That number is Bill's cell phone.

Ready to Talk Through Your House?

Give us a call or fill out the form. Bill will talk through your results, your timeline, and what the right next step looks like. If radon showed up during a real estate inspection, call early so you still have schedule room.

Buying or selling with radon · Buyer-side path · Seller-side path